
Hello and Welcome to the Pink & Main and My Sweet Petunia blog hop and giveaway! Make sure to complete the entire hop for some awesome inspiration and a chance to win! Two lucky people who comment will be randomly selected to win one of two prizes: a $50 shopping spree at www.mysweetpetunia.com and a $50 shopping spree at www.pinkandmain.com - DEADLINE to comment is no later than April 1, 2018, at 11:59 PM Central time. Winners will be announced on April 3rd. Check back on the on the Pink and Main and My Sweet Petunia blogs.
HOP LIST:
So now on to my project...ok--project"S"! I went a little crazy this time. I just couldn't stop creating! I can not express how much having this Misti Stamping Tool changes the card making game. I was able to mass produce all of these cards in no time. Most were done in under an hour. That's with embossing and making the alcohol ink backgrounds! Pear that with the adorable, high-quality, stamps at Pink and Main, and it's a WIN-WIN!
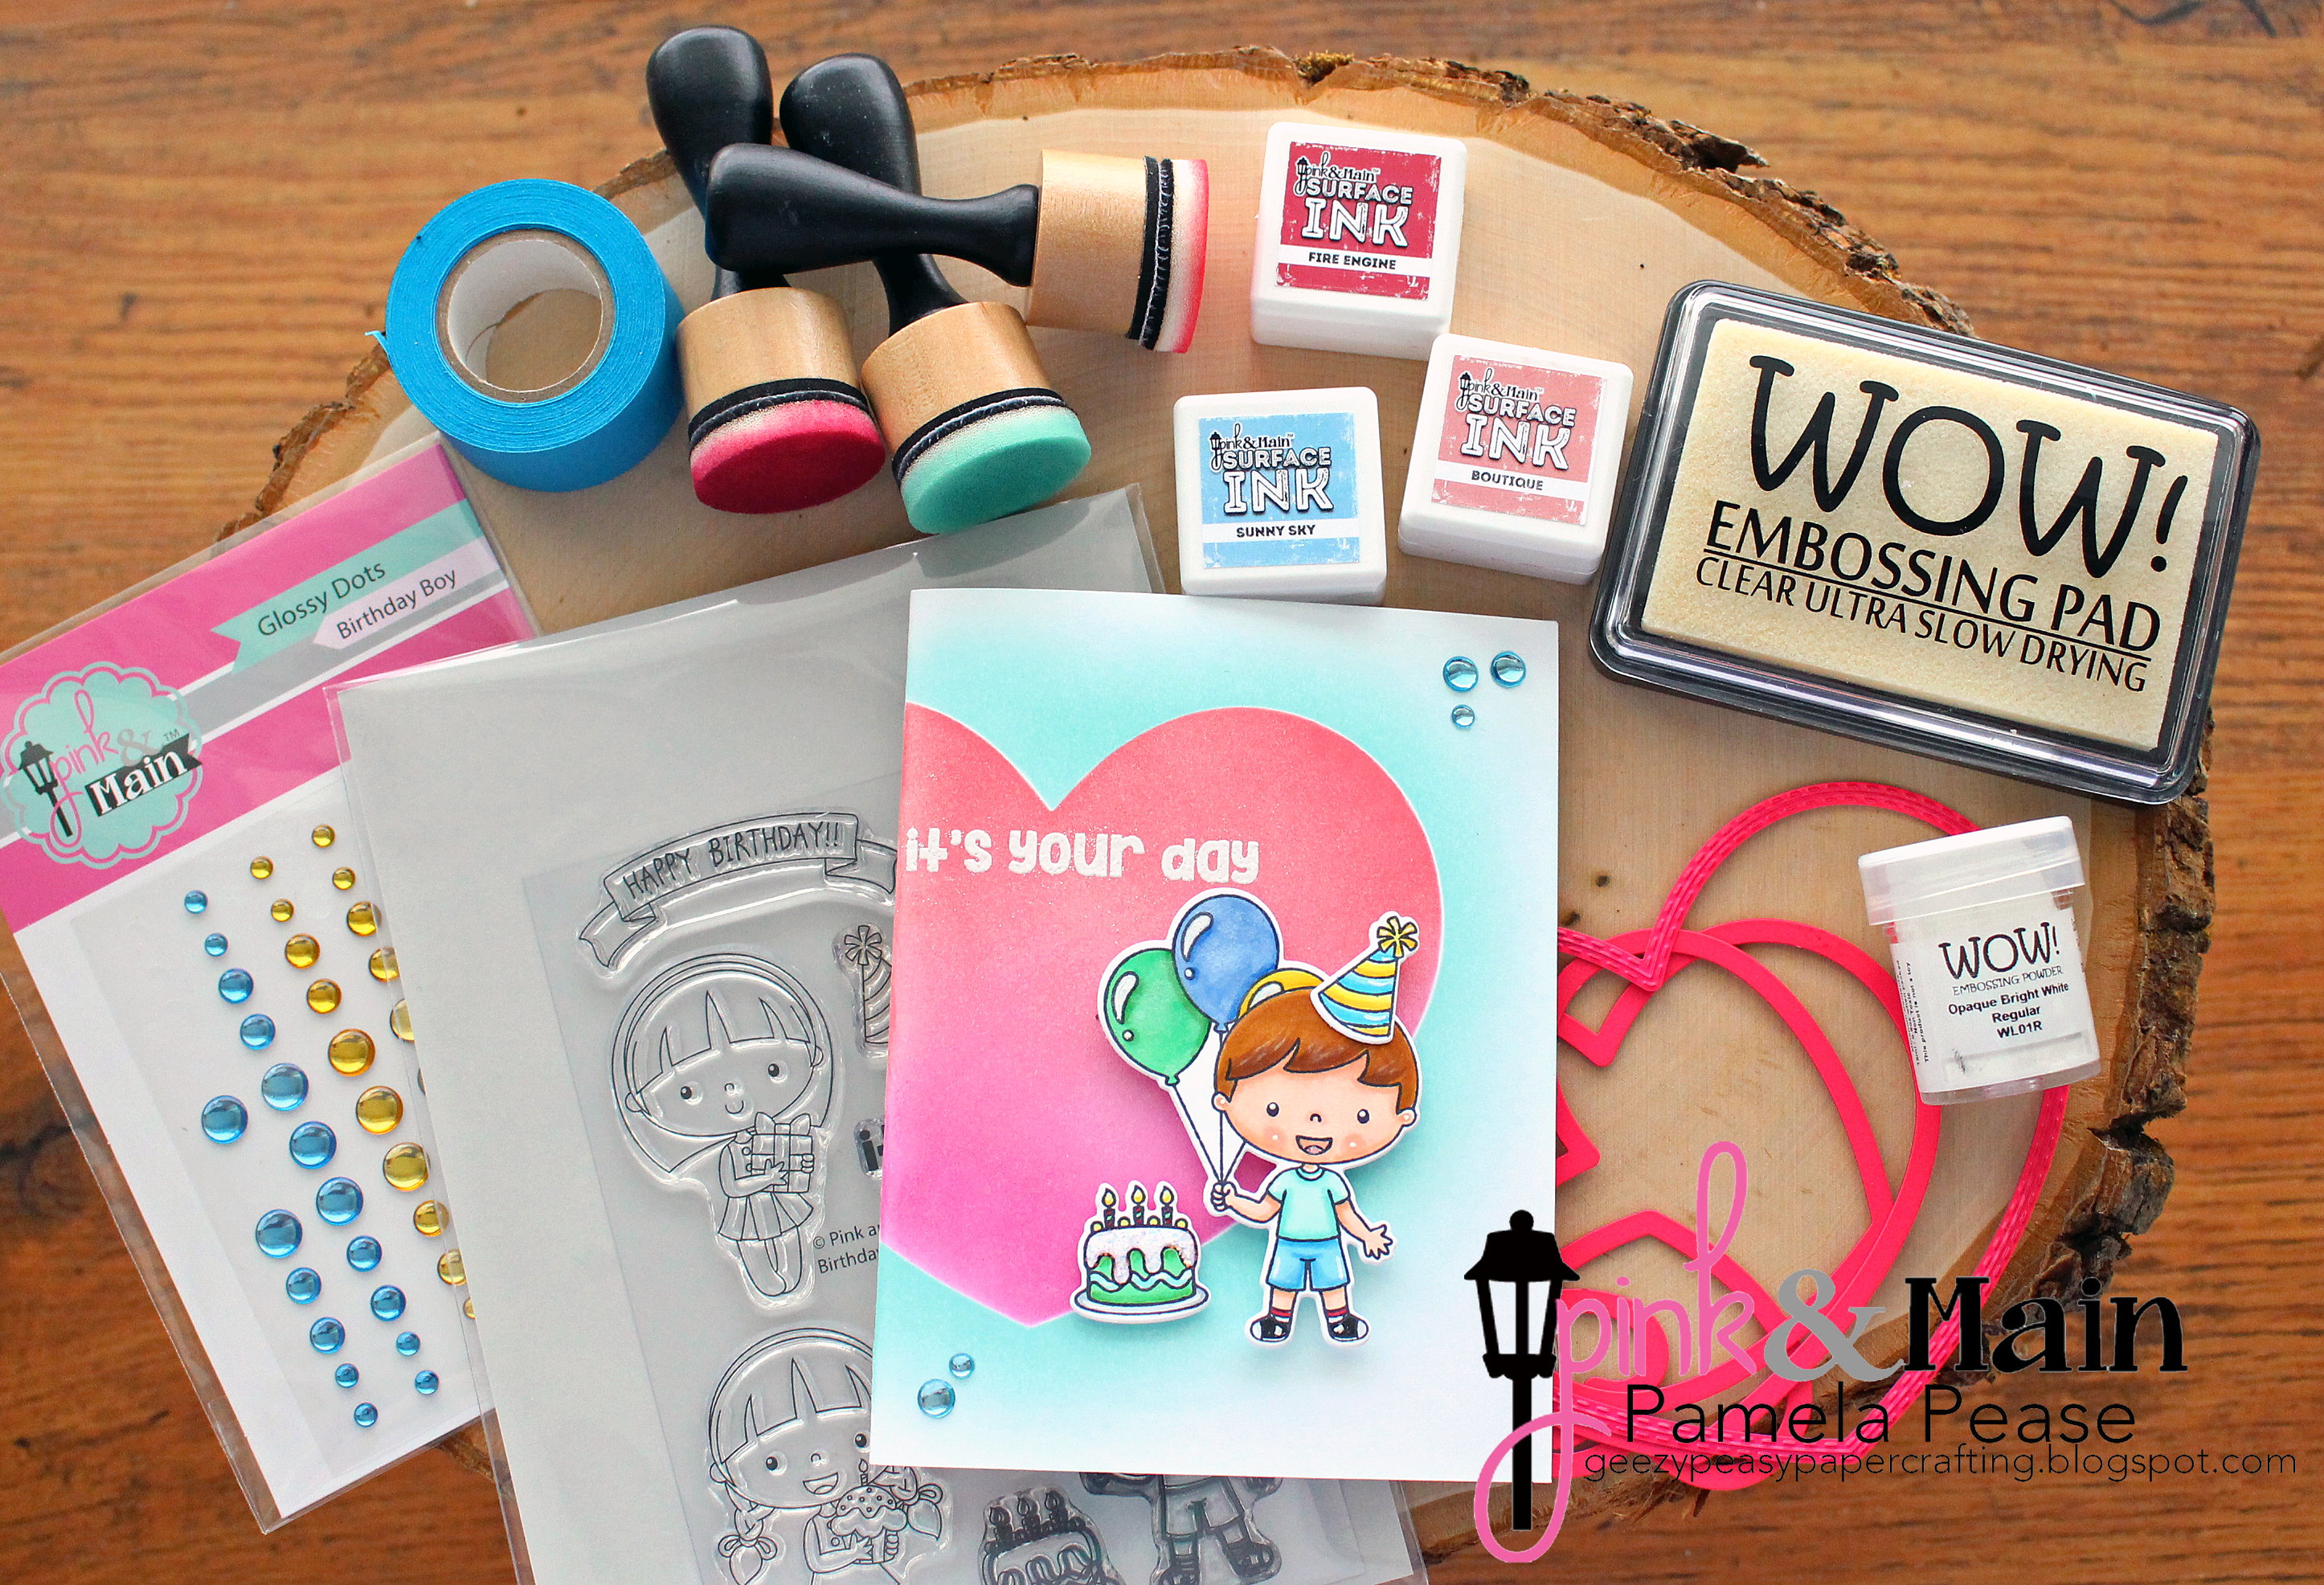
I have lots to share with you, and I tried my best to take photos along the way. First, let me share some of the products used (a complete list of materials, with links, will be a the bottom of this post).


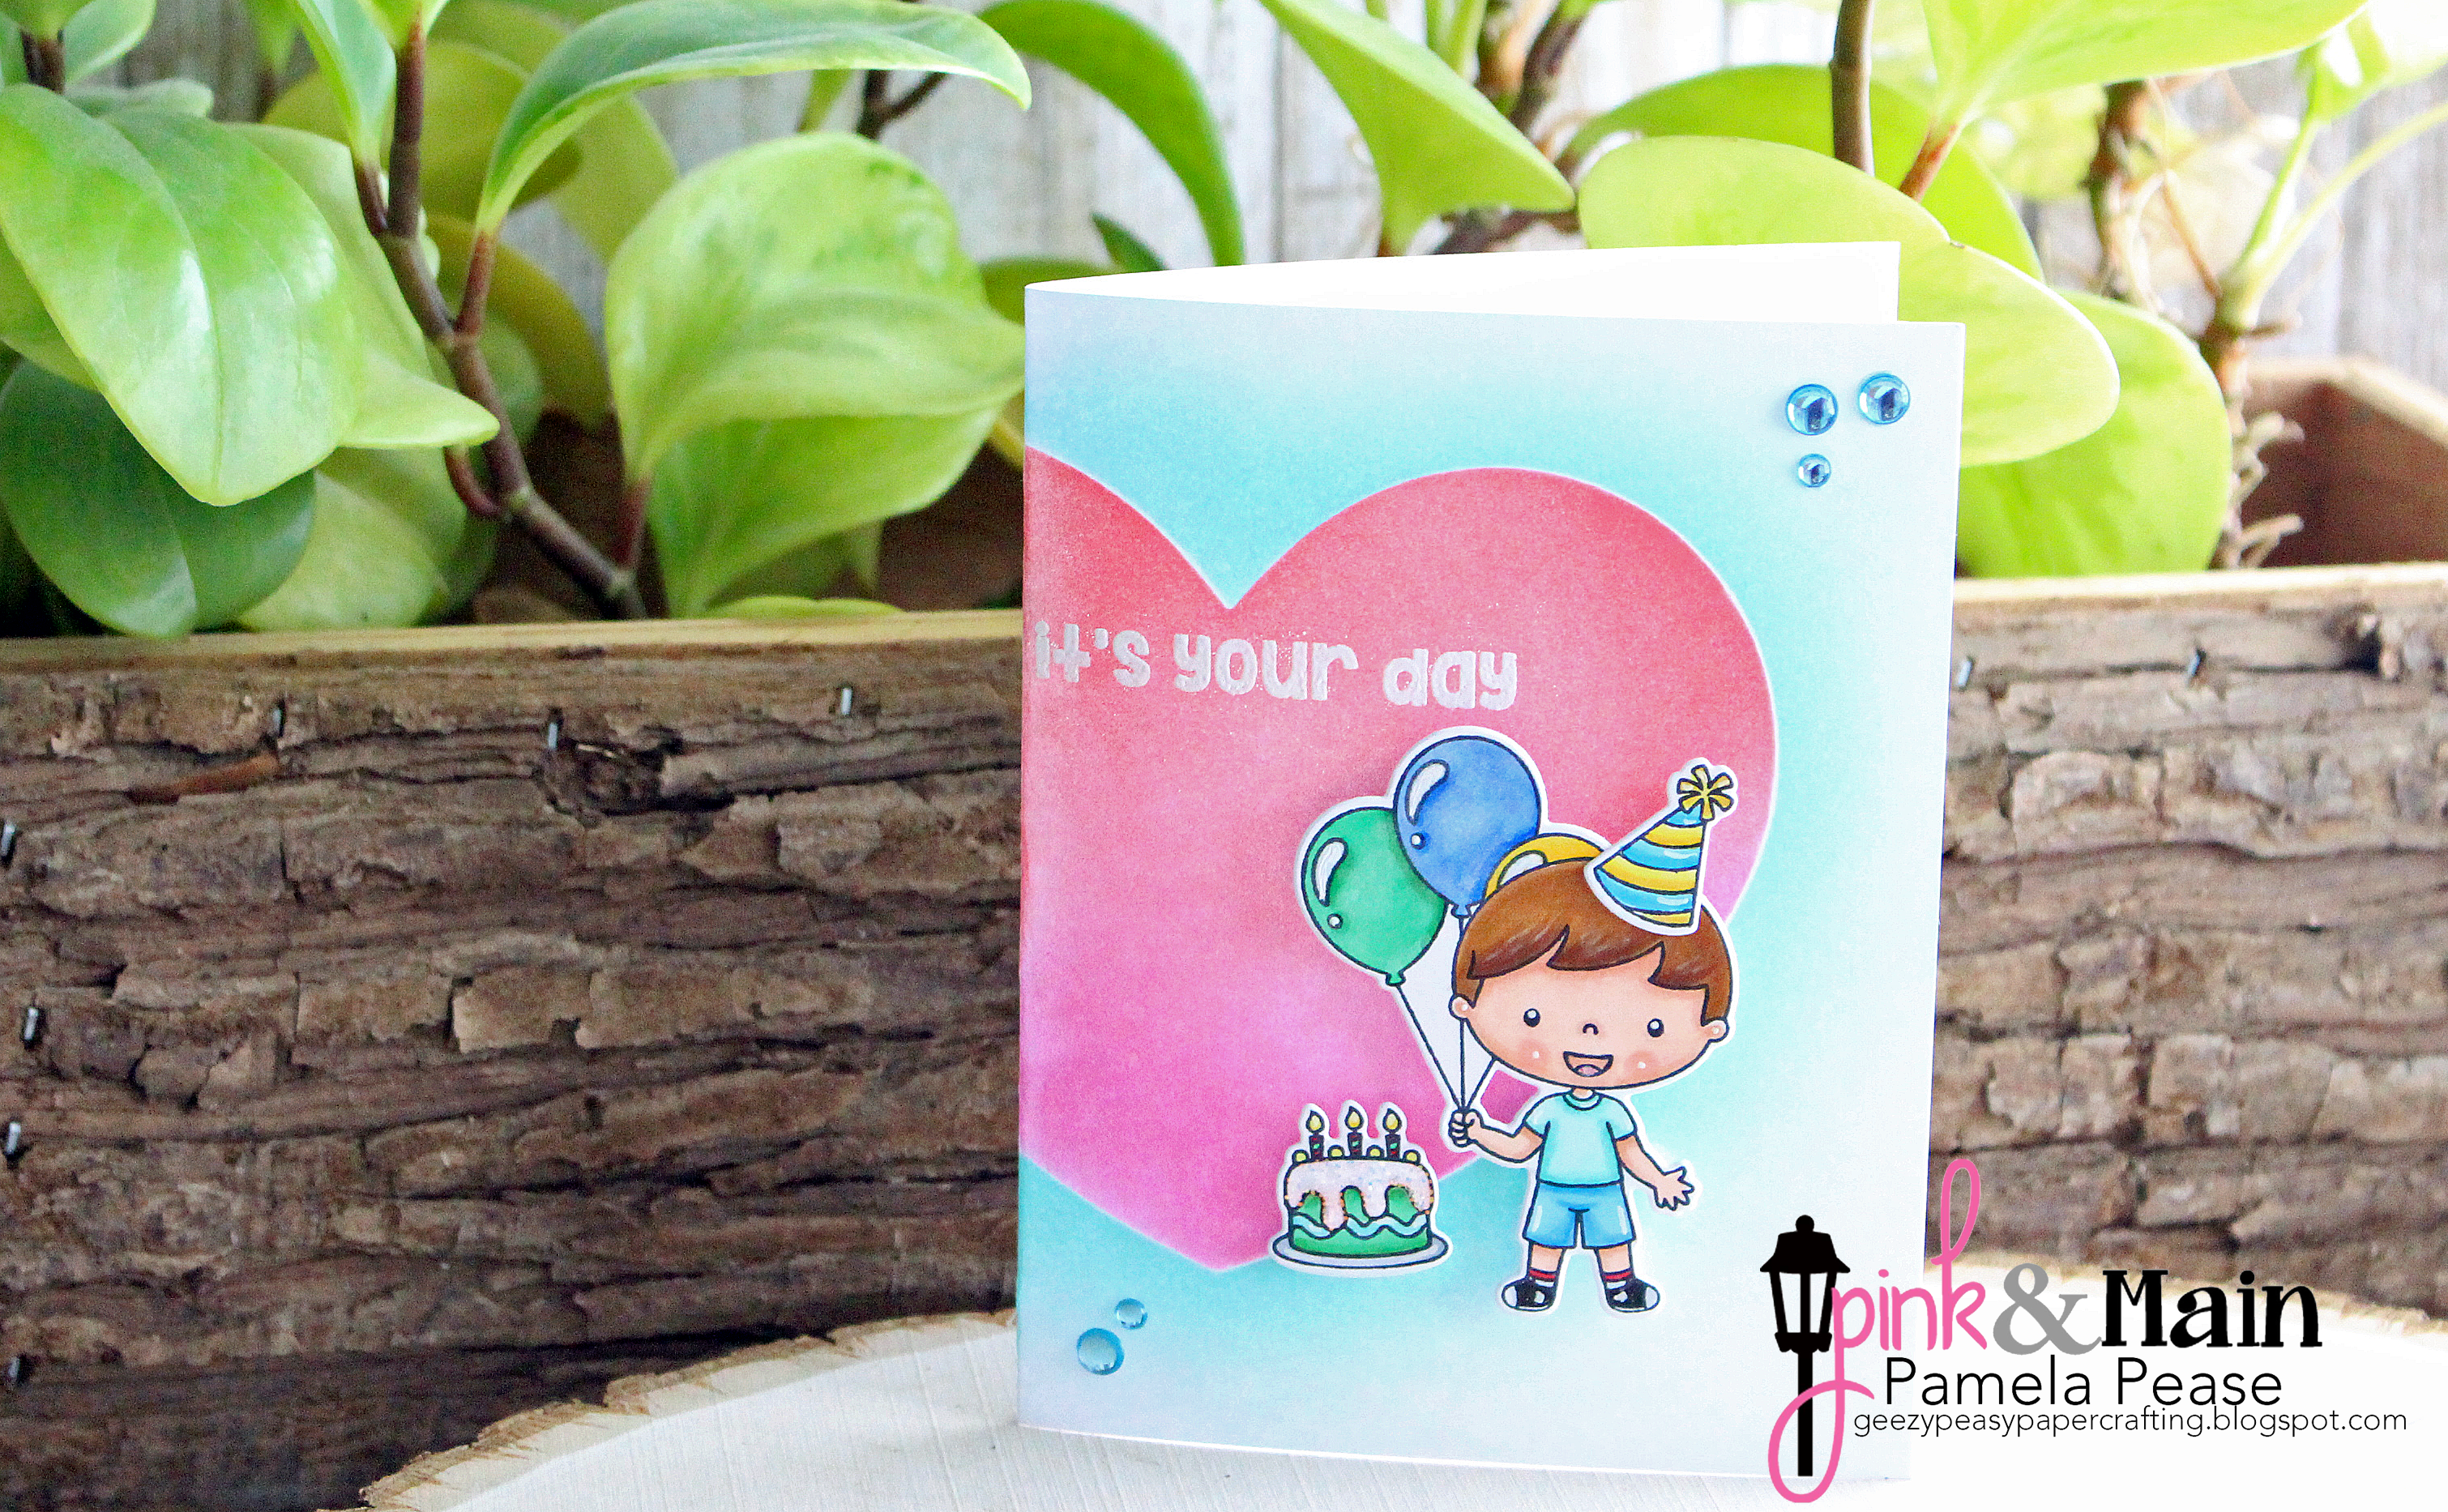
and here are the 5 cards I created...yes 5! I had way too much fun. More details on the process below.


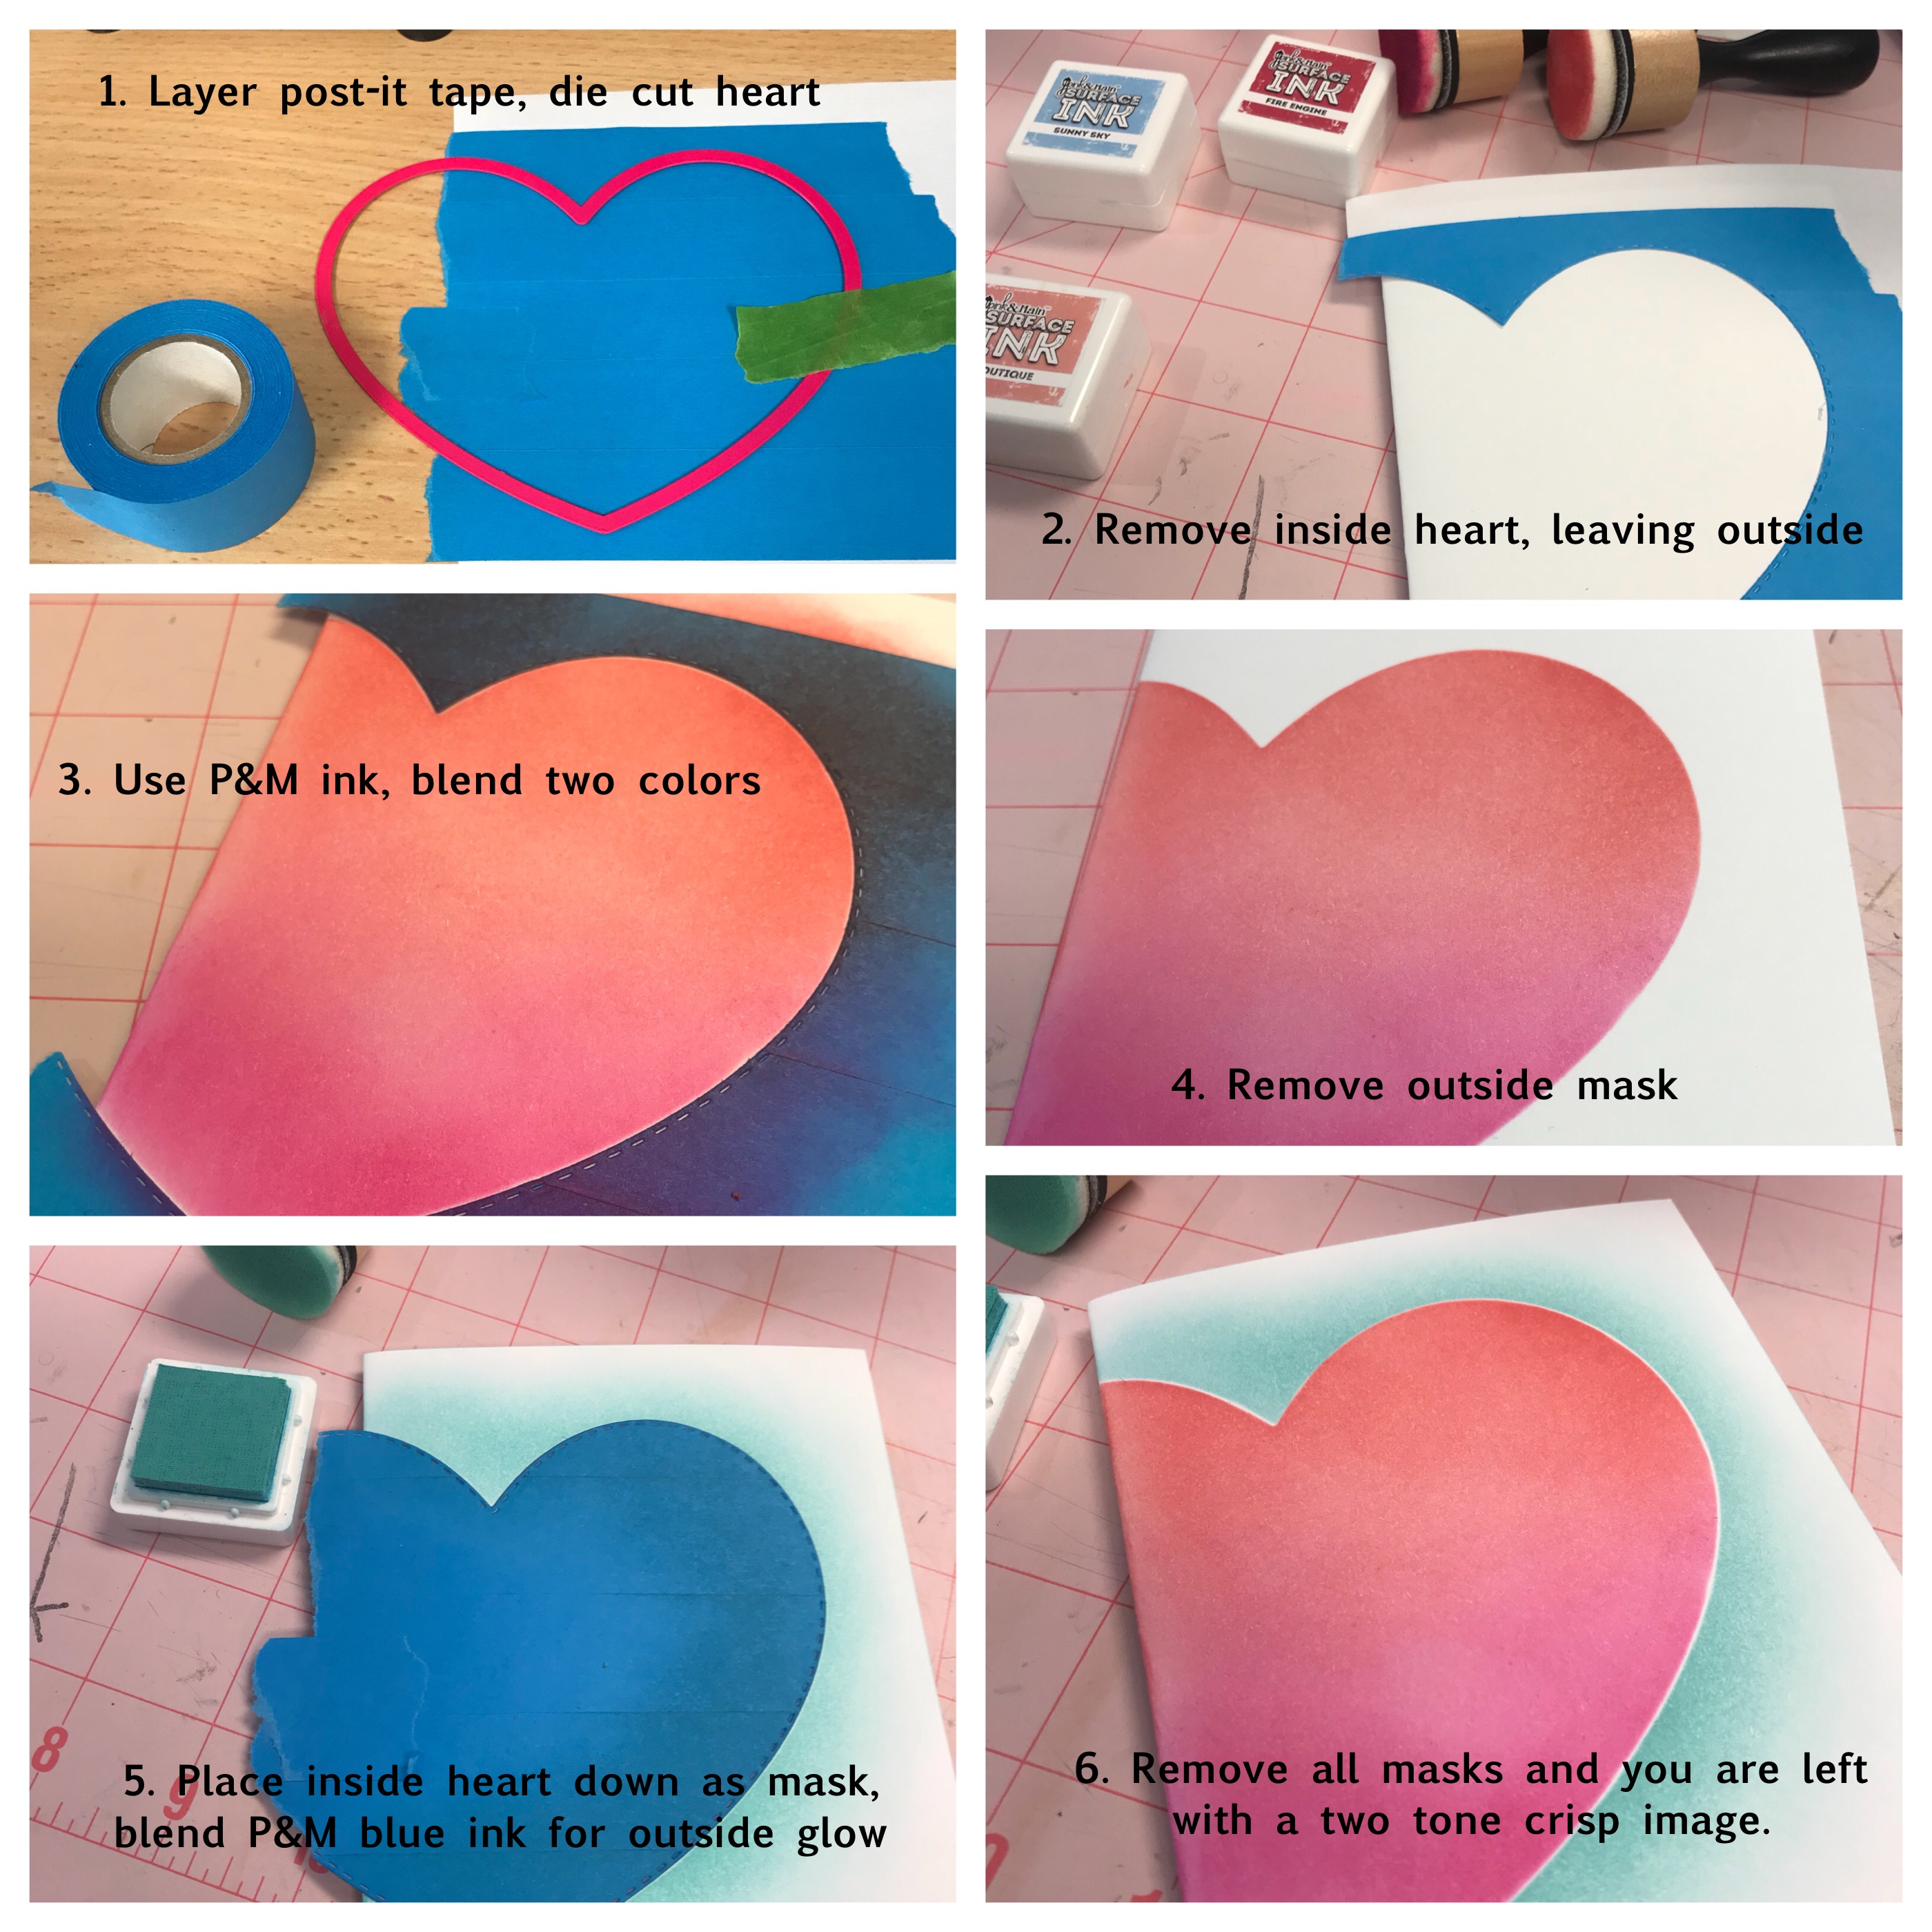
Below are step-by-step photos of how I achieved the stamped collage using the set, Seas the Day. First, I cut a transparency sheet to fit inside the Misti. Second, on the underside of the cover, I placed the 4 1/4 x 5 1/2 piece of white card stock and lined my stamps on top, face down. This allowed me to see exactly where the images would stamp. After securing the transparency with Misti's heavy duty magnets (2 come with the original size), I flipped it over to adhere the stamps to the transparency. The reason I used the transparency was so I was able to take them off and on without losing their position. This helped tremendously. Thanks to Jennifer McGuire for yet another inspiration! Now to stamp on the piece of paper, I adhered it with temporary tape that way if I didn't get a good crisp image I could re-stamp it perfectly. This worked out really well and you will see that I inked it up with clear embossing ink (WOW!) and embossed it in gold. This is actually the only panel I didn't make into a card. I have other plans for it!

I feel like this is pretty self explanatory, but I wanted to show my alcohol ink products used to achieve these cool backgrounds. I did discover something during this process. Which I am sure many people already know. I only have a few alcohol inks (right now, that will change!) but I wanted to create a soft green card. DING, light bulb went off...Copics are alcohol markers!!! Yes, I just thought of this in this way. Don't laugh! I was able to scribble the different Copics on a non-stick mat and pick it up with the felt squares. I needed to use quite a bit of the blending solution to keep it wet, but it actually worked!! I achieved the lighter green card above, with that method. The last picture is a warning that it's messy, but fun! :)

I wanted to showcase another awesome technique using the Misti. This is probably the most useful and one of the most popular uses. It's amazing and I seriously don't know how we stamped before it. Having the Misti allowed me to line up the "Smile" and "It Looks Good On You" sentiments perfectly in that circle. Not only that, but as you can see, the progression the stamp didn't come out perfect. I actually needed to stamp it 3 times. By the end it was fab! This is achieved because the Misti keeps your stamp and paper in place which allows you to re-ink it as many times as needed.

Pink and Main Materials Used
Seas the Day stamp set, Seas the Day Dies, Smile Stamp, Beach Babe Paper Pad, Frosty Paper Pad, My Heart Paper Pad, Thin Fish Tail Banner Dies, Stitched Circle Dies, Night Sky Surface Ink, Rainbow Glossy Dots
Other Materials Used
The Original Misti, Novus 1 Plastic Polish (clean and buff Misti) WOW! Embossing Powder and Ink, Ranger, Tim Holtz, Alcohol Ink and Tools, Copic Markers,
NEXT ON YOUR STOP IS Giovana Smith
I hope you enjoyed my projects as much as I enjoyed making them. Don't forget to keep on hopping and commenting to be eligible to win.